ARC Raiders Blueprints: All 95 Locations, Drop Rates & Farming Guide | ArcRaiders.gg
Complete ARC Raiders blueprints guide covering all 95 blueprints, drop rates by map condition, best farming locations, container priorities, Surveyor farming, guaranteed quest rewards, and whether you can buy blueprints.
ARC Raiders Blueprints: All Locations, Drop Rates & Farming Guide
Every weapon, attachment, grenade, medical, utility, and augment blueprint in ARC Raiders. Where they drop, how to farm them, and which containers actually matter.
Key Takeaways
- ARC Raiders has roughly 95 blueprints spanning weapons, attachments, grenades, medical items, utilities, and augments. Each one permanently unlocks a craftable item at the Assembler.
- Electromagnetic Storm raids produce the highest blueprint drop rates by a wide margin. Night Raids are your second-best option. Avoid Day Raids for farming entirely.
- Weapon Cases and Raider Caches are the two highest-probability containers for blueprint drops, running at roughly 3x the rate of standard lockers.
- Several blueprints are guaranteed through quest completions, Harvester Events, and Trials, meaning you do not need to rely on RNG for every unlock.
What Are Blueprints in ARC Raiders?
Blueprints in ARC Raiders are permanent crafting recipes. Once you extract with a blueprint, it unlocks that item at the Assembler forever on your account. You never lose the recipe. You can then build copies of that weapon, attachment, grenade, or utility whenever you have the required materials.
Each blueprint also carries a sell value of 5,000 coins if you bring it to a Trader. That makes duplicate blueprints a reliable income source, especially once you have unlocked most of the catalog. Some players run dedicated "blueprint sell runs" during Electromagnetic Storms, targeting high-density container zones and extracting duplicates purely for the coin value.
The system is straightforward: find the blueprint in a container or on a specific enemy, extract successfully, and the recipe is yours. Dying with a blueprint in your inventory means you lose it. No insurance, no recovery. That tension between extracting safely and pushing deeper for more loot is what makes blueprint farming one of the most engaging loops in ARC Raiders. For a visual breakdown of every blueprint and its category, check the interactive Blueprint Database.
All ARC Raiders Blueprints by Category
The full blueprint catalog covers six categories. Below is a complete reference organized by type. Tier variants (I through IV) represent increasing rarity and stat improvements, and each tier requires its own blueprint.
| Weapon | Type | Tiers Available |
|---|---|---|
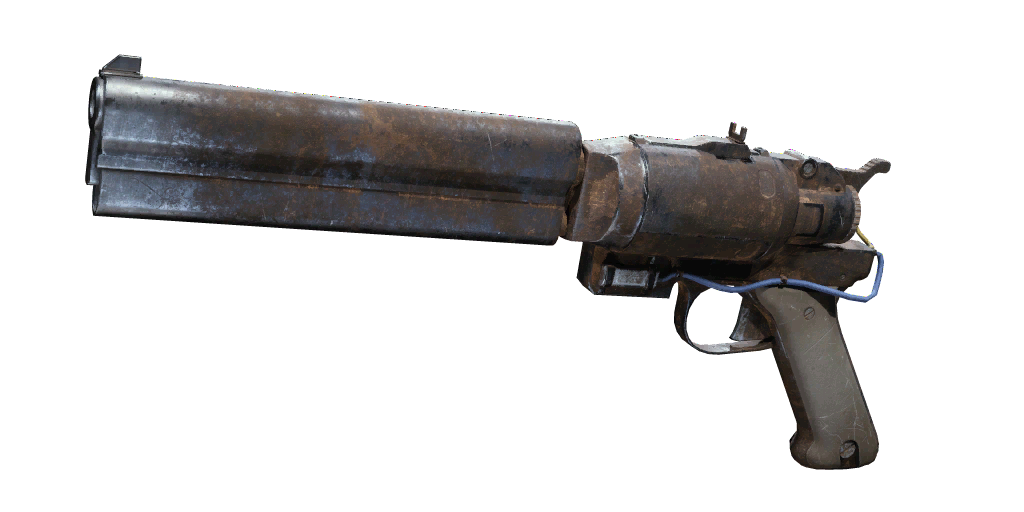
| Anvil | Hand Cannon | I II III IV |
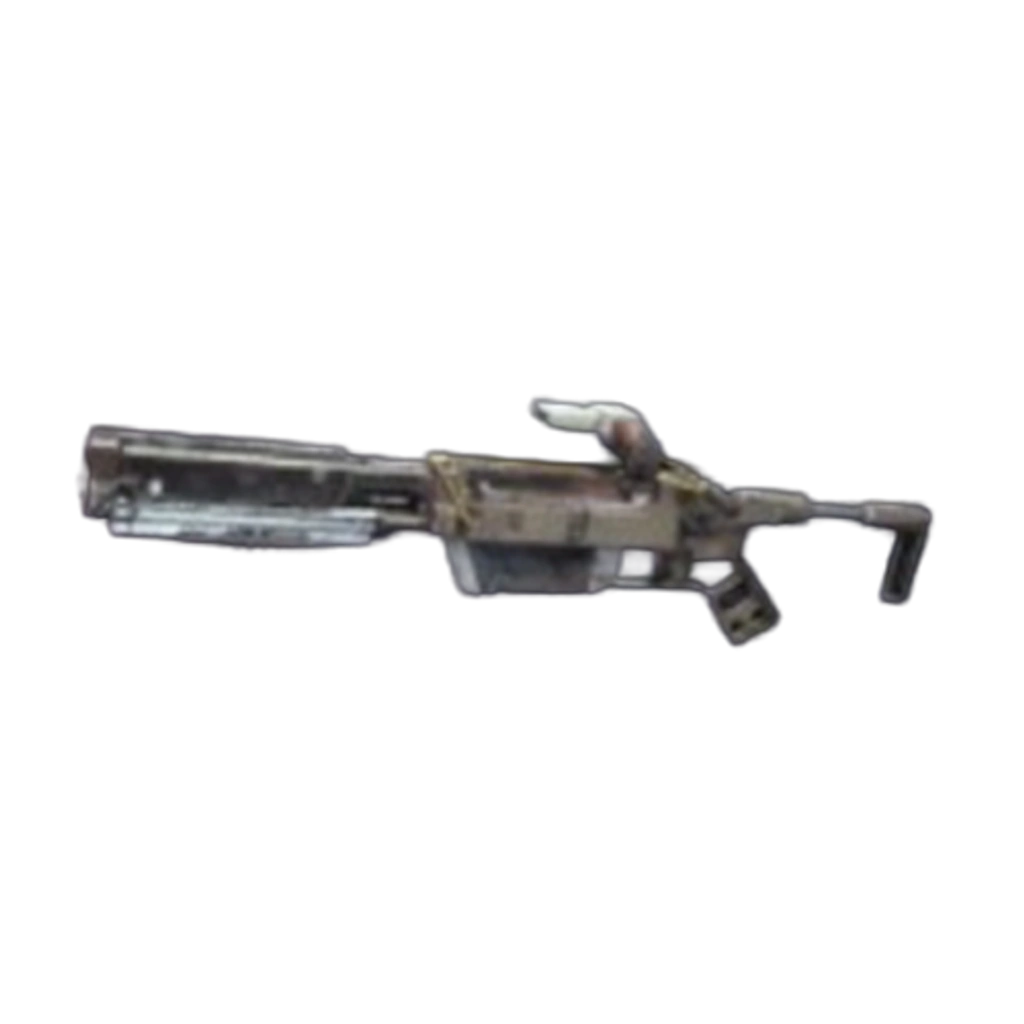
| Aphelion Rifle | Energy Rifle | I |
| Arpeggio | Assault Rifle | I II |
| Bettina | Marksman Rifle | I II III IV |
| Bobcat | SMG | II III IV |
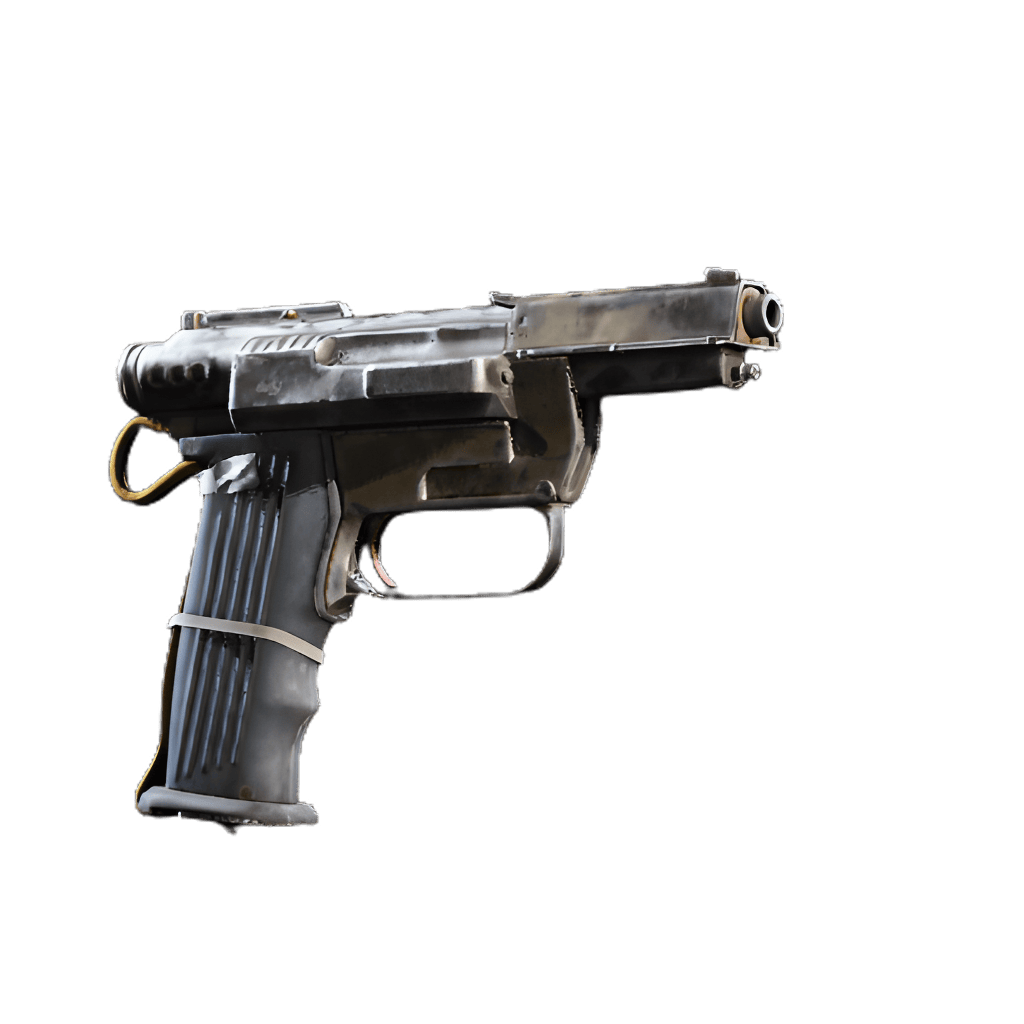
| Burletta | Pistol | I II III IV |
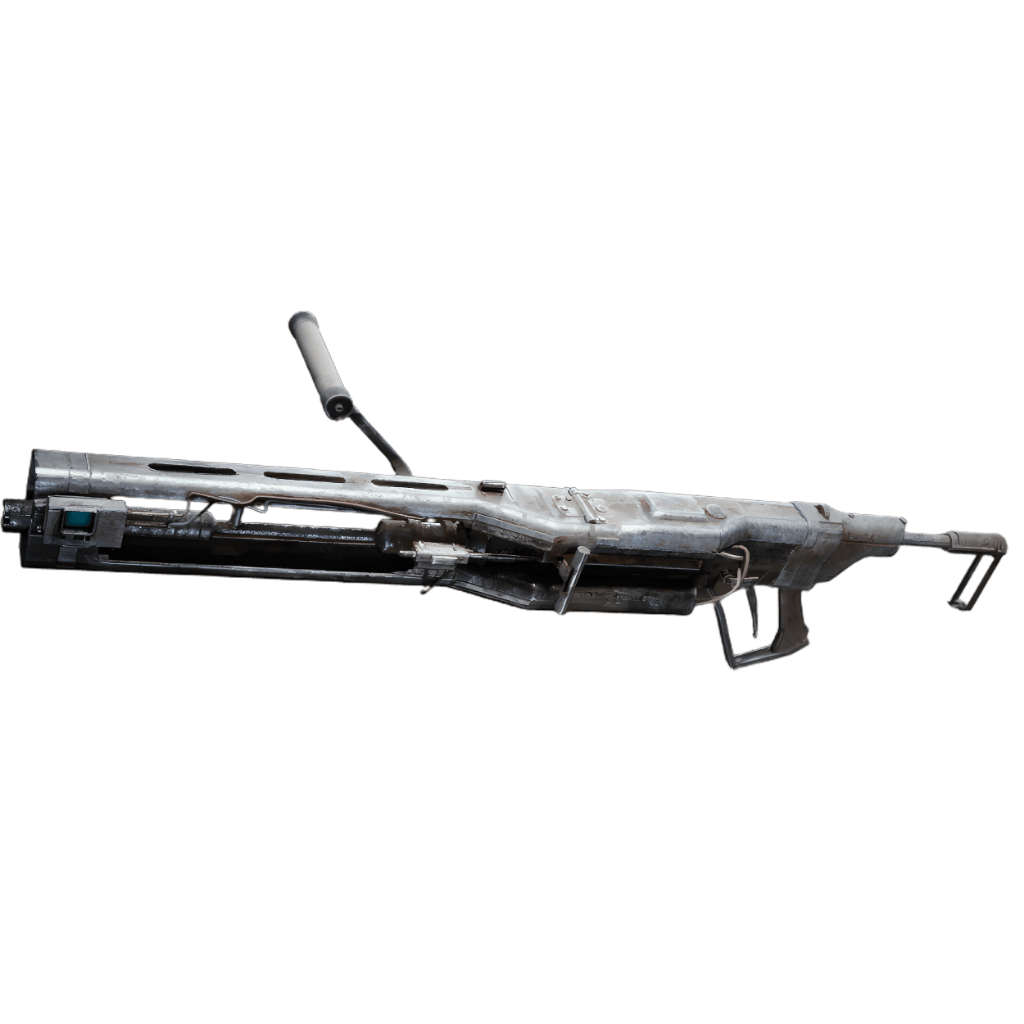
| Equalizer | Energy Rifle | I |
| Ferro | Rifle | I II III IV |
| Hairpin | Pistol | I II III IV |
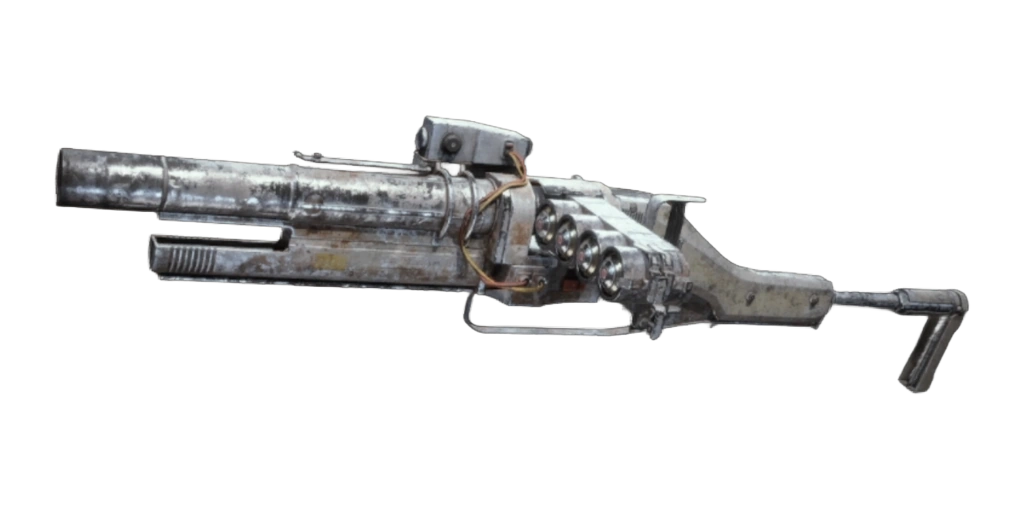
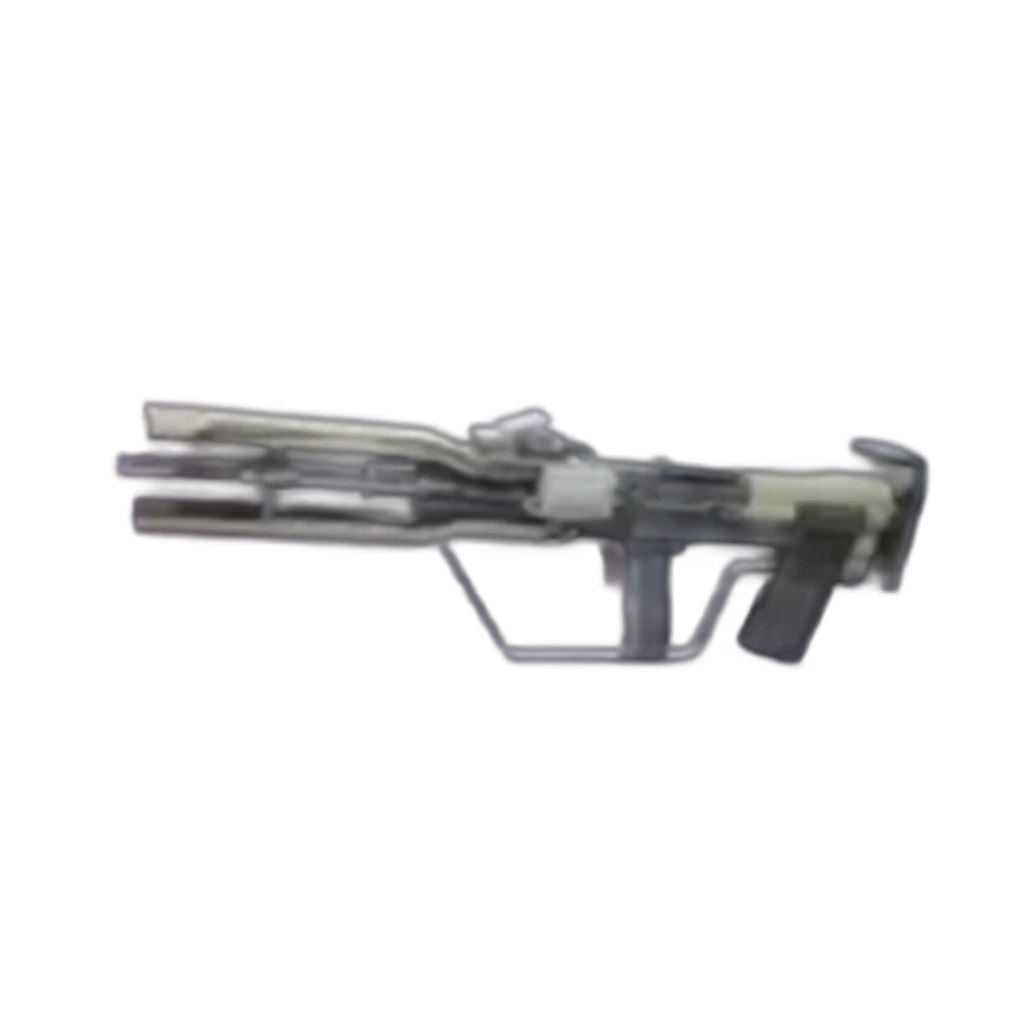
| Hullcracker | Launcher | I II III IV |
| Il Toro | Shotgun | I II III IV |
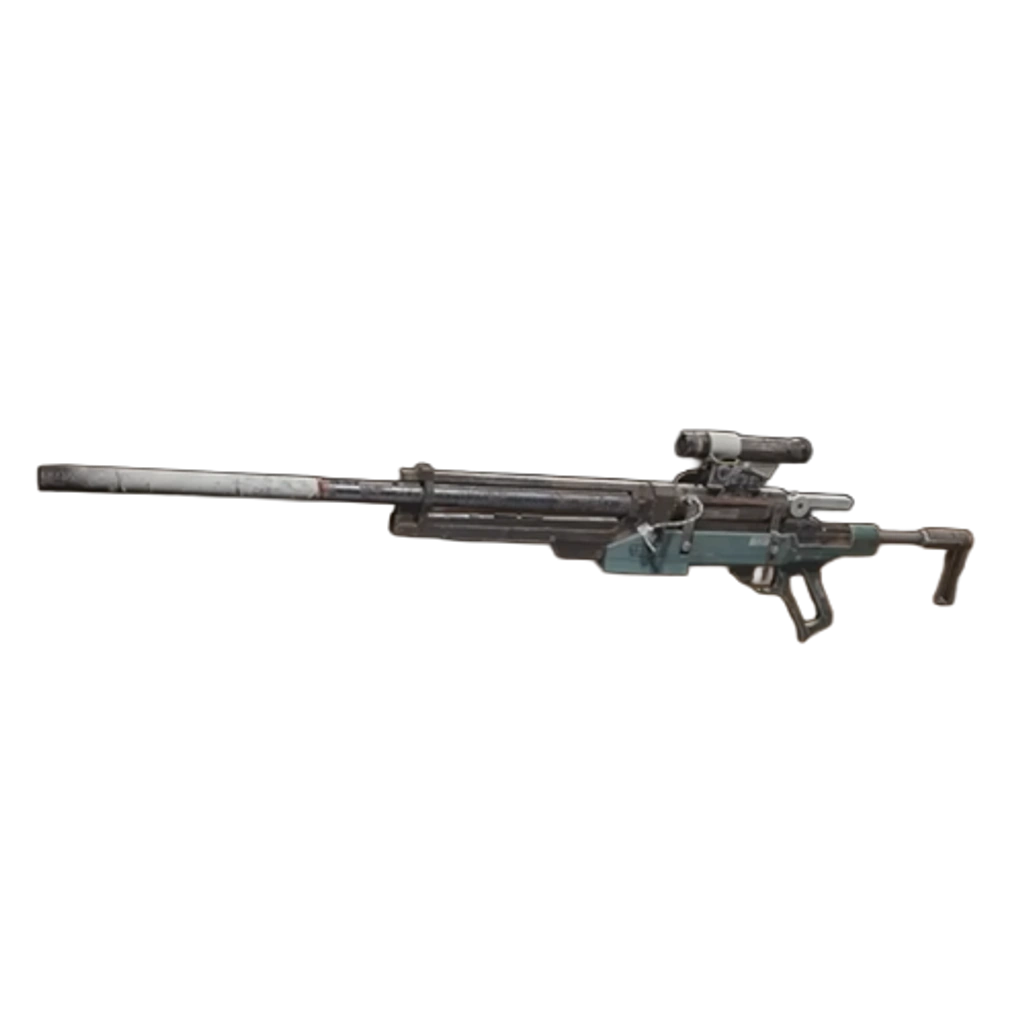
| Jupiter | Sniper Rifle | I |
| Kettle | Assault Rifle | I II III IV |
| Osprey | Sniper Rifle | I II III IV |
| Rattler | Assault Rifle | I II III IV |
| Renegade | Battle Rifle | I II III IV |
| Stitcher | SMG | II III IV |
| Tempest | Assault Rifle | I II III IV |
| Torrente | LMG | I II III IV |
| Venator | Pistol | I II III IV |
| Vulcano | Shotgun | I II III IV |
Attachment blueprints let you build the components that turn a base weapon into something specialized. Each attachment slot has its own set of blueprints.
| Attachment Type | Examples | Count |
|---|---|---|
| Grips | Stabilizer Grip, Quick-Draw Grip, Recoil Grip | 4 |
| Stocks | Heavy Stock, Light Stock, Folding Stock | 4 |
| Silencers | Standard Silencer, Compact Silencer | 2 |
| Barrels | Long Barrel, Choke Barrel, Rifled Barrel | 4 |
| Magazines | Extended Mag, Quick Mag, Drum Mag | 4 |
| Sights | Reflex Sight, ACOG Sight, Holographic Sight | 4 |
| Item | Type |
|---|---|
| Frag Grenade | Lethal |
| Trigger 'Nade | Proximity Lethal |
| Flashbang | Tactical |
| Smoke Grenade | Tactical |
| Gas Grenade | Area Denial |
| EMP Grenade | Anti-ARC |
| Decoy Grenade | Distraction |
| Claymore Mine | Proximity Mine |
| Shock Mine | Stun Mine |
| Proximity Mine | Proximity Explosive |
| Launcher Ammo | Pummeler Ammo |
| Item |
|---|
| Defibrillator |
| Vita Shot |
| Vita Spray |
| Item |
|---|
| Barricade Kit |
| Remote Raider Flare |
| Snap Hook |
Augment blueprints unlock the Mk.3 variants of each augment class. Mk.1 and Mk.2 are available without blueprints, but Mk.3 requires a blueprint drop.
| Augment | Class | Effect |
|---|---|---|
| Combat Augment Mk.3 | Offense | Maximum weapon handling and damage bonuses |
| Looting Augment Mk.3 | Support | Maximum container interaction speed and loot radar |
| Tactical Augment Mk.3 | Defense | Maximum shield regen and damage resistance |
| Survival Augment Mk.3 | Hybrid | Maximum stamina regen and health recovery |
Map Conditions and Blueprint Drop Rates
Not every raid is created equal when it comes to blueprints. Map conditions are the single biggest factor in your farming success. Community testing across hundreds of raids has produced a clear hierarchy.
| Map Condition | Priority | Observed Rate | Notes |
|---|---|---|---|
| Electromagnetic Storm | Highest | ~1 per raid | 7 in 7 raids tested. Drop every session. |
| Night Raid | High | ~1 per 2 raids | "Increased loot value" modifier active. |
| Day Raid | Low | ~1 per 6+ raids | Significantly reduced. Avoid for farming. |
Farming Protocol: Always check the map condition before deploying. If the rotation is a Day Raid, run a different objective like quest completion or material farming. Save your blueprint runs for Storms and Night conditions exclusively.
Blueprint-Capable Containers
Blueprints only appear in specific container types. Opening standard crates and resource nodes will never produce one. Targeting the right containers is just as important as running the right map condition.
| Container | Drop Chance | Spawn Locations |
|---|---|---|
| Weapon Cases | ~3x base rate | Military zones, ARC outposts, locked rooms |
| Raider Caches | ~2.5x base rate | Hidden stashes, underground areas, named POIs |
| Med Duffels | Above average | Medical buildings, camp first-aid areas |
| Black Raider Boxes | Above average | Raider camp leftovers, crash sites |
| Standard Lockers | Base rate | Everywhere. High quantity, low quality. |
The math favors Weapon Cases and Raider Caches. A single Storm raid hitting six Weapon Cases gives you a statistically better shot than 20 Day Raid lockers. Plan your route around these containers specifically.
Best Farming Locations by Map
Highest container density in the game. The central ruins have four Weapon Cases within a two-minute loop. The underground tunnel system beneath the main plaza holds two Raider Caches that most players skip entirely. During Electromagnetic Storms, this is the single best farming location.
Risk: High PvP traffic. Bring extraction-ready loadouts.
The dam interior has locked rooms with guaranteed Weapon Case spawns. The control room on the upper level and the generator room below each contain one. The exterior bridge area has two more Raider Caches near the ARC turret emplacements. Quieter than Buried City, making it better for solo runs.
Risk: ARC machine patrols. Bring EMP grenades.
The underground lab complex at Bluegate has a disproportionately high augment blueprint drop rate. Players farming Mk.3 augments should prioritize the subterranean container spawns here. The surface level holds two Weapon Cases in the shipping warehouse.
Risk: Tight corridors. Bring close-range weapons.
Location-Specific Blueprint Theories
The community has tracked patterns suggesting certain blueprints drop more frequently at specific locations. None of this is officially confirmed by Embark Studios, but the sample sizes are large enough to take seriously.
Augment Mk.3 blueprints appear to drop at a noticeably higher rate from underground containers at Bluegate. Multiple players have reported finding all four Mk.3 augment blueprints within 8-10 Bluegate runs, while other maps took 30+ raids to produce a single augment drop.
Rattler III and IV blueprints have a suspected higher drop rate from the apartment complex at Pale Apartments on the Buried City map. The two Raider Caches on the top floors seem to favor assault rifle blueprints disproportionately.
Snap Hook blueprint has been reported most frequently from containers at Pilgrim's Peak during Electromagnetic Storm conditions. The theory is that utility blueprints have a weighted spawn table tied to elevation-based POIs during Storms. This is purely observational, but worth testing if the Snap Hook is the last utility blueprint you need.
The Surveyor: Your Blueprint ATM
Containers are not the only source. The Surveyor, a specific ARC machine enemy type, drops blueprints directly upon death. Community data puts the rate at roughly 1 blueprint per 5-6 Surveyor kills.
Surveyors patrol predictable routes in most maps, but their AI pathing shifts between sessions. You will not find them in the same exact spot every raid. They tend to spawn near resource-rich areas and named POIs. Listen for the distinctive scanning sound they make, it is different from standard ARC drones and carries further.
A dedicated Surveyor farming strategy involves sprinting between known spawn zones and only engaging Surveyors while ignoring other enemies. This is faster than looting containers but riskier since combat draws attention from both ARC machines and other Raiders. Pair this with an Electromagnetic Storm and you can realistically pull 2-4 blueprints per raid through Surveyor kills alone.
Guaranteed Blueprints
Not every blueprint requires RNG. Several are awarded as guaranteed quest rewards, Harvester Event prizes, or Trial completions. If you are missing a specific blueprint, check whether it has a guaranteed source before grinding containers for hours.
| Blueprint | Source | Requirement |
|---|---|---|
| Hullcracker I | Main Quest Line | Complete "The Major's Footlocker" quest at Ruby Residence |
| Burletta I | Main Quest Line | Complete "Arms Race" quest chain |
| Trigger 'Nade | Side Quest | Complete "Demolition Expert" quest |
| Launcher Ammo | Side Quest | Complete "Heavy Ordnance" quest |
| Jupiter | Harvester Event | Successfully extract a Harvester core |
| Equalizer | Harvester Event | Complete 2 Harvester Event extractions |
Trials also award blueprints upon first completion of specific tiers. The Trials system rotates weekly, so check the active Trials board in Speranza to see which blueprints are currently available as rewards.
Farming Strategies That Actually Work
Bring the cheapest loadout you own. A Tier I weapon, no armor, and a basic backpack. Sprint directly to high-value container zones, open everything, and extract the moment you have a blueprint. Do not engage enemies unless forced. Do not loot anything except blueprint-capable containers. Your goal is speed and volume: run as many raids as possible per hour.
This works because blueprint drop chance is per-container, not per-raid. Opening 6 Weapon Cases across two fast runs beats opening 4 across one slow, geared-up run. The cheaper loadout means deaths cost almost nothing.
Map your route to hit containers in order of proximity to the extraction point, working backward. Open the closest-to-extract containers last so you are always near an exit when a blueprint appears. This reduces the distance between finding a blueprint and successfully extracting with it. The Items page lists every container's typical loot pool if you want to pre-plan which containers are worth the detour.
When the "Uncovered Caches" world event activates, additional containers spawn across the map. These bonus containers follow the same drop tables as their permanent counterparts. Combined with an Electromagnetic Storm, an Uncovered Caches event can yield 2-4 blueprints per raid for experienced farmers. Track event rotations and save your highest-effort runs for when conditions align.
Can You Buy ARC Raiders Blueprints?
This is one of the most searched questions about ARC Raiders blueprints for sale, and the answer is no. There is no in-game marketplace, auction house, or player-to-player trading system. You cannot purchase blueprints from other players or from the in-game store. Every blueprint must be found through gameplay.
Community Discord servers have attempted to set up informal trading by having players drop items in-raid, but this is unreliable and risky. You would need to coordinate a raid with another player, meet at a specific location, have them drop the blueprint, pick it up, and successfully extract. Most attempts fail to griefing, miscommunication, or simply not matching into the same server instance.
Warning: Third-party websites offering ARC Raiders blueprint boosting or selling services operate outside the game's Terms of Service. Using these services risks account suspension. Embark Studios has flagged account sharing and boosting as bannable offenses in their community guidelines. The safest path is farming them yourself using the strategies in this guide.
Embark has not announced any plans for a trading system. The extraction-and-keep model is core to the game's economy, and introducing trading would significantly change progression balance. For now, every blueprint you own represents time invested in the Rust Belt.
Frequently Asked Questions
How many blueprints are in ARC Raiders?
Roughly 95 blueprints span all categories: weapons with their tier variants (I-IV), gun attachments, grenades, mines, medical items, utilities, and Mk.3 augments. The exact count shifts slightly with patches as Embark adds new items. Check the Blueprint Database for the current catalog.
What is the best map condition for blueprint farming?
Electromagnetic Storms produce the highest drop rate by a significant margin. Community testing shows roughly one blueprint per Storm raid when targeting high-probability containers. Night Raids are the next best option. Avoid Day Raids entirely for blueprint farming.
Can you trade or sell blueprints to other players?
No. ARC Raiders has no player trading system. Blueprints cannot be transferred between accounts. Duplicate blueprints can be sold to in-game Traders for 5,000 coins each, but not to other players.
Are blueprints permanent or do they expire?
Permanent. Once you extract with a blueprint and it registers to your account, that crafting recipe is unlocked forever. You never need to find the same blueprint again, though duplicates can appear and are worth selling for coins.
Where do augment Mk.3 blueprints drop?
Augment Mk.3 blueprints can drop from any blueprint-capable container, but community data suggests the underground lab containers at Bluegate have a higher augment drop rate. Running Bluegate during Electromagnetic Storms is the fastest known method for Mk.3 farming.
What happens if I die carrying a blueprint?
You lose it. Blueprints in your inventory are gone permanently if you fail to extract. There is no insurance, recovery, or buyback system. When you find a blueprint, extraction should become your immediate priority. Use the Proximity Priority strategy described above to minimize the distance between finding blueprints and reaching an extraction point.
Need to compare weapons before crafting blueprints? Use the Weapon Compare tool to find which blueprints are worth farming first.